September 22, 2025
Engineering
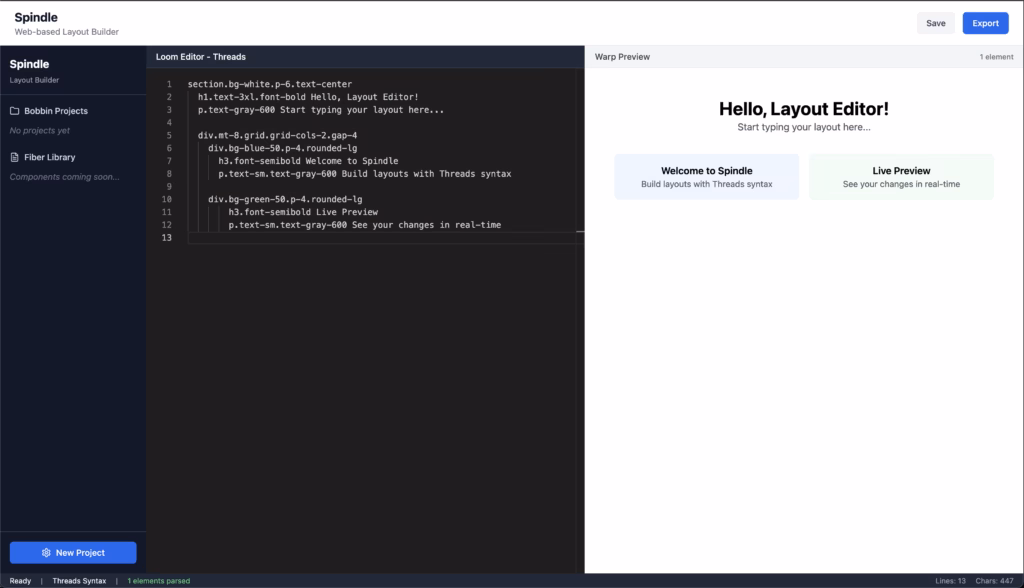
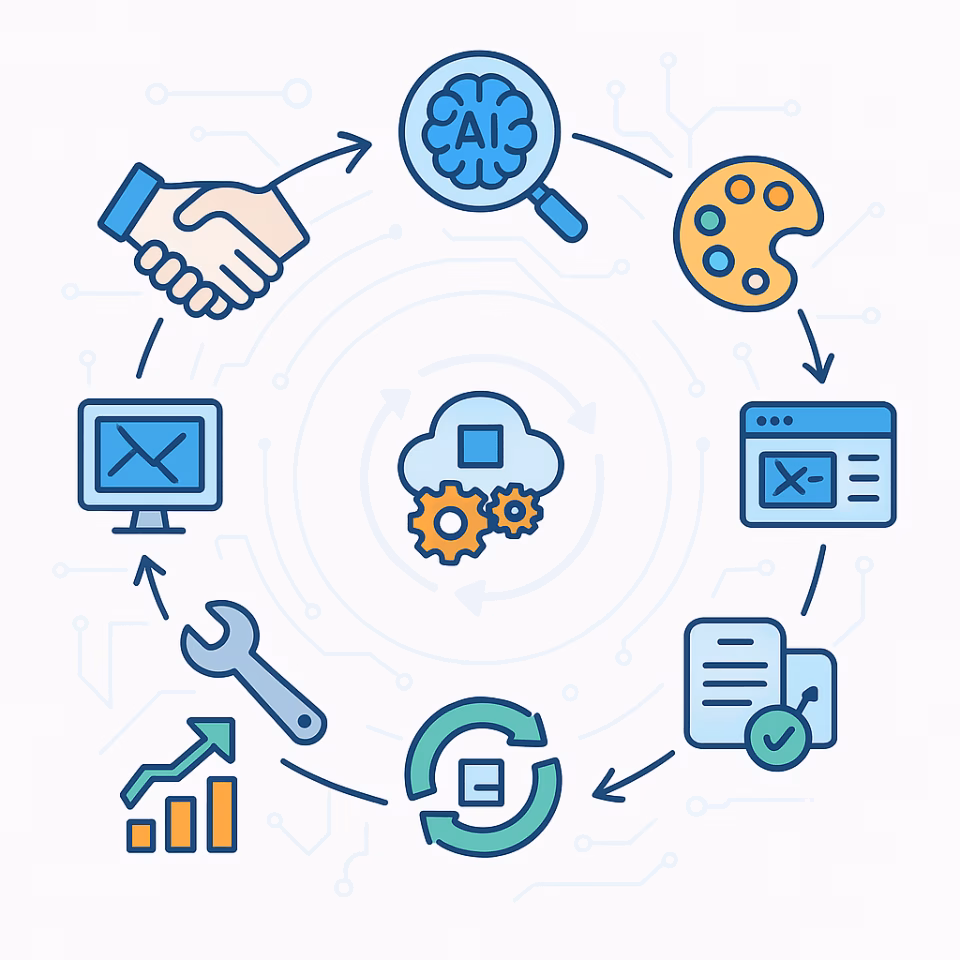
From Full-Stack to Full-Cycle
The Rise of the AI-Supported Generalist. The role of a developer has always been expanding. Once, being full-stack meant juggling frontend and backend. Later, it meant cloud deployment, APIs, and maybe even DevOps pipelines. But if we zoom out, building a product involves far more than code. It spans client outreach, design, testing, documentation, analytics, […]
READ FULL ARTICLE