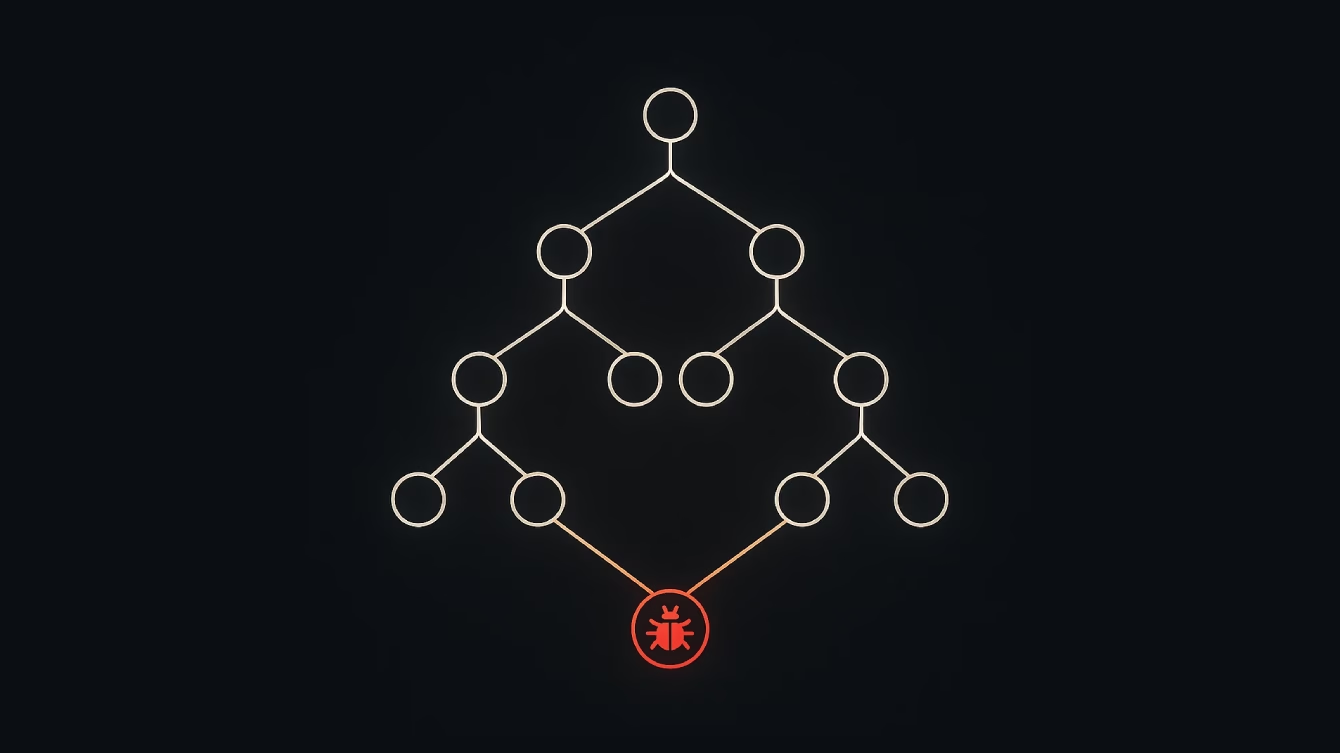
git bisect is a powerful tool built into Git that helps identify the specific commit that introduced a bug or regression. It automates a binary search across your commit history, quickly narrowing down to the first “bad” commit.
Why Use git bisect?
Use git bisect when:
- You know a bug exists now that didn’t exist in the past.
- The bug was introduced somewhere between two known commits.
- You need to efficiently isolate the cause, especially in large projects or long commit histories.
- Manual inspection or diffing isn’t feasible due to code complexity or volume.
How It Works (Conceptual Overview)
git bisect uses binary search:
- You mark the current (buggy) commit as bad.
- You mark a past commit where the bug was not present as good.
- Git checks out the midpoint between the two.
- You test it and mark it as good or bad.
- Git repeats this process until the culprit commit is found.
Instead of testing every commit (O(n)), it finds the buggy commit in O(log n) time.
Typical Use Case
Imagine this scenario:
- You merged a feature two weeks ago.
- A bug appears today, but everything worked fine last week.
- You don’t know which commit caused it.
Rather than reviewing all 100 commits in that time, git bisect can locate the problematic one in 7–8 steps.
Step-by-Step Example
# Start the bisect session
git bisect start

# Mark the current commit as bad
git bisect bad

# Mark a known good commit (e.g., a commit hash or tag)
git bisect good abc1234Git will now check out a midpoint commit.
# You test the code manually or run a test suite
# If the bug is present:
git bisect bad

# If the bug is NOT present:
git bisect goodRepeat this process. When Git finds the first bad commit:
# Git will print the bad commit hash
# To end the session and return to HEAD:
git bisect reset⚙️ Automating With Scripts
If the bug can be tested via a script (exit 0 for good, non-zero for bad), automate the process:
git bisect start
git bisect bad
git bisect good abc1234
git bisect run ./test-for-bug.shGit will automatically run the script at each step and mark commits accordingly.
🧠 Tips and Gotchas
- Use clean working states — stash or commit changes before starting.
- Can be used with rebases, merges, and squashed histories — just ensure you’re referencing commits that existed in history.
- Works well when you have reproducible bugs.
- Reset with
git bisect resetanytime to return to your original HEAD.
🔍 When Not To Use It
Avoid git bisect if:
- The bug isn’t reproducible or appears inconsistently.
- There’s no clear “known good” commit.
- The history is too shallow or the change was introduced in one of a few commits (manual review is faster).
📌 Related Commands and Concepts
git log— Use to find good/bad commit candidates.git show— Inspect individual commits during bisect.git blame— Can be helpful aftergit bisectto narrow blame within the commit.git cherry-pick— Use if you want to revert or isolate the problematic change after finding it.
🧭 Closing Thought
git bisect turns debugging history into a quick session instead of stepping backwards through commits one-by-one until it’s found.
It’s especially powerful when combined with automated tests — giving you a way to bisect regressions before they reach production.

Leave a Reply